Design decision
Why this idea works
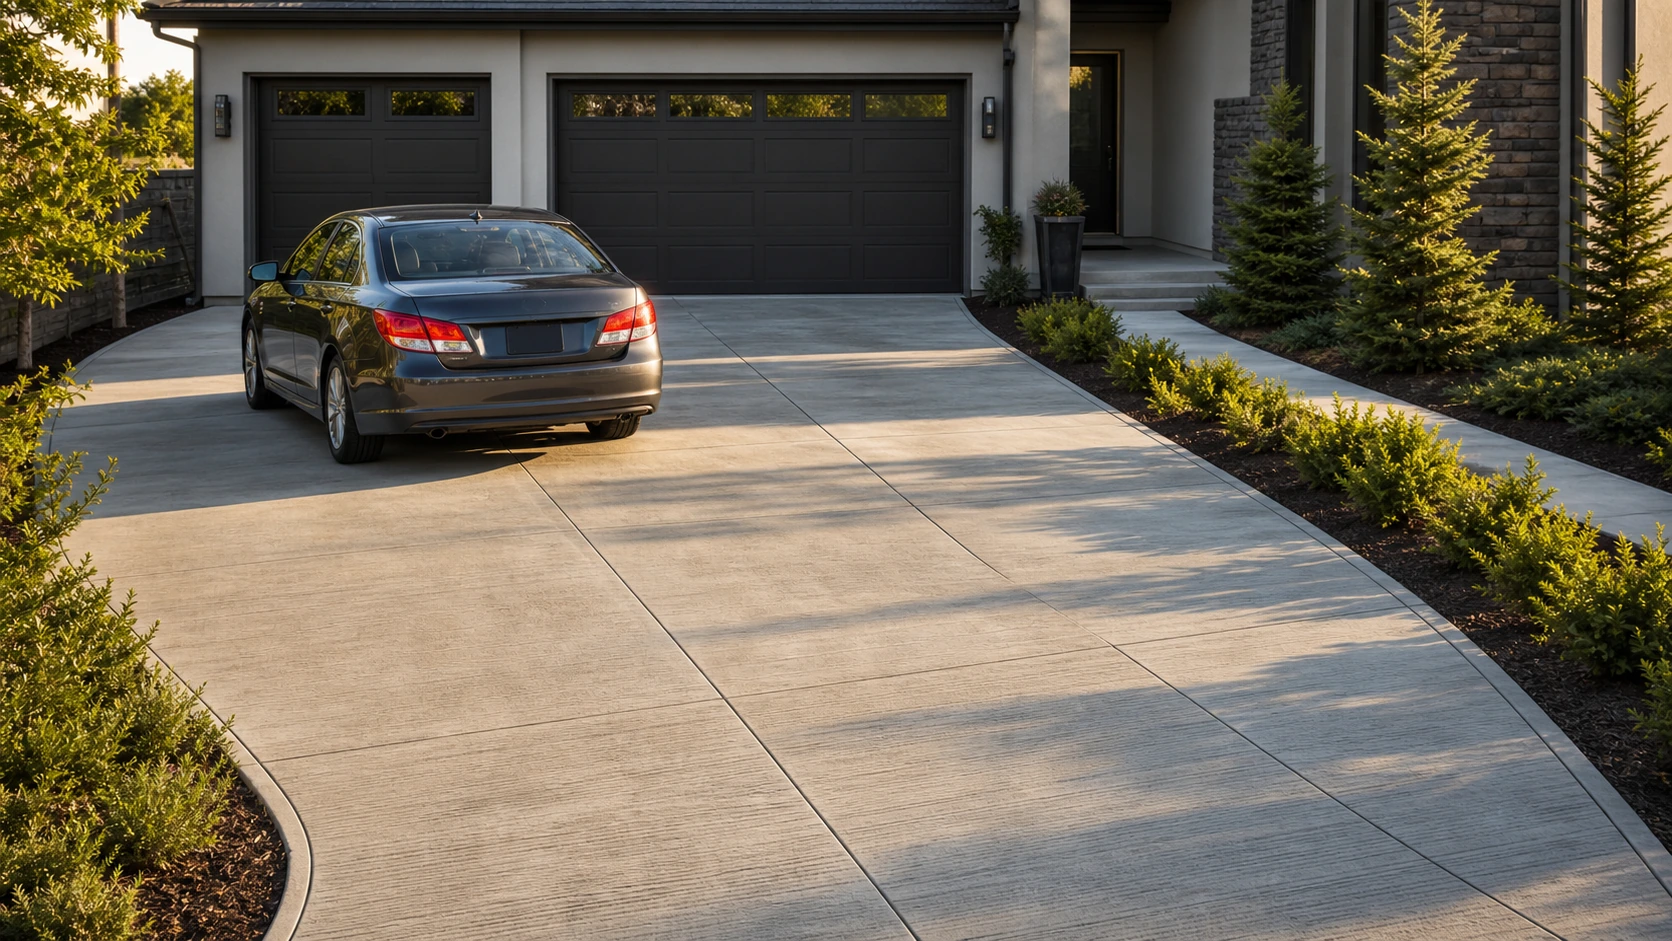
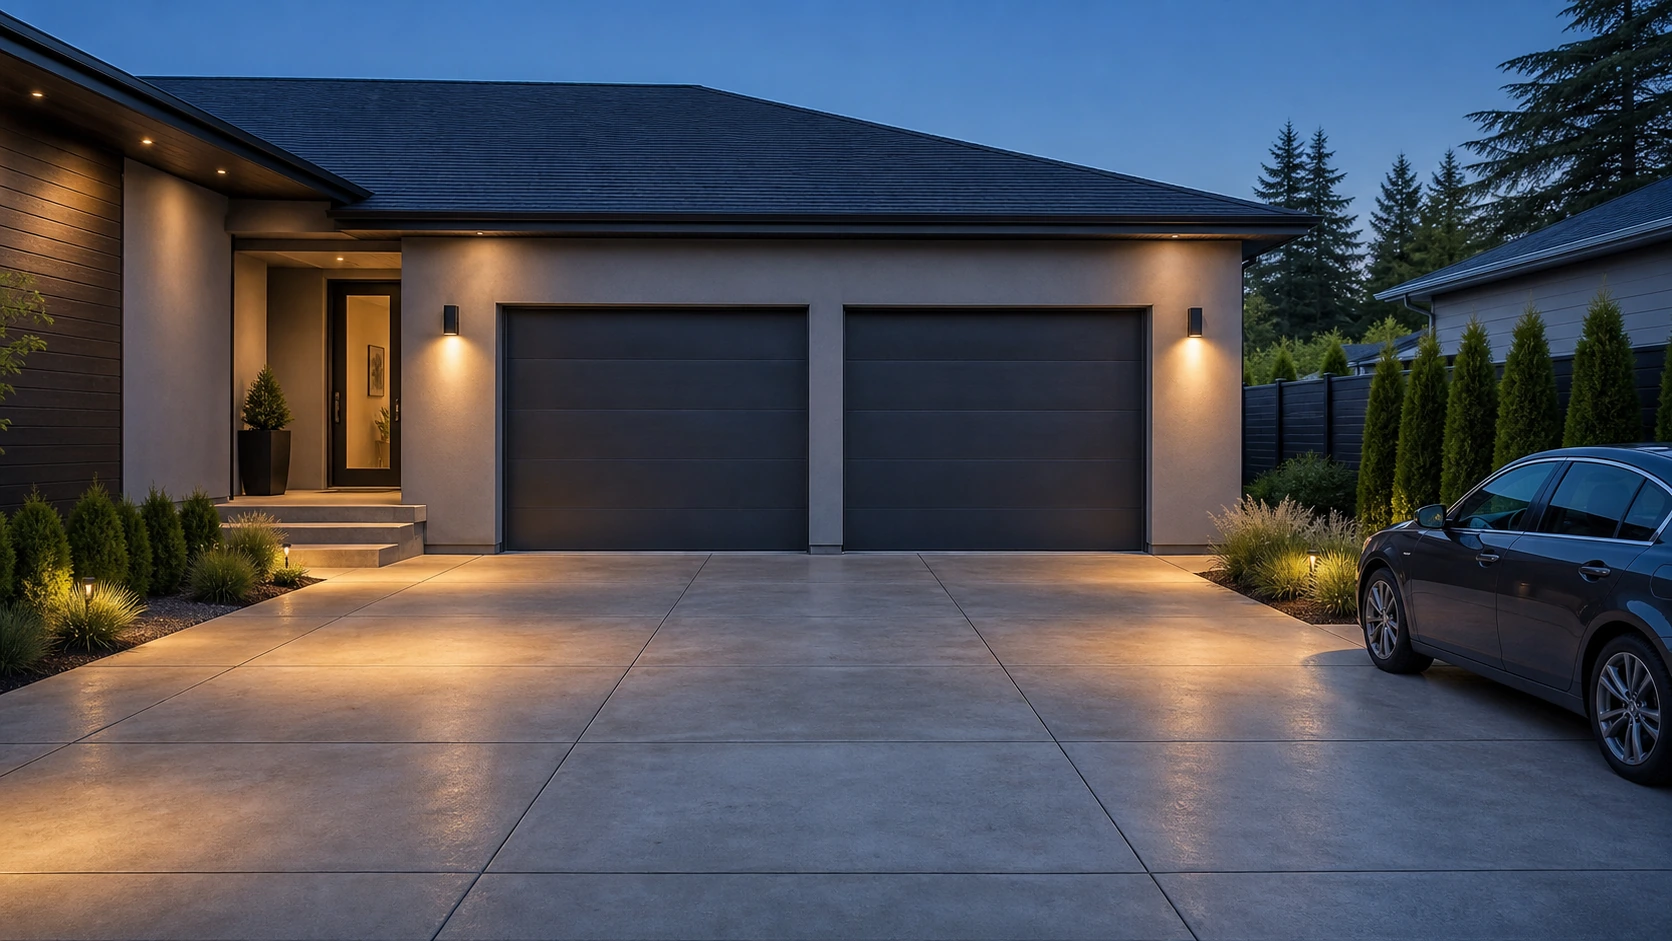
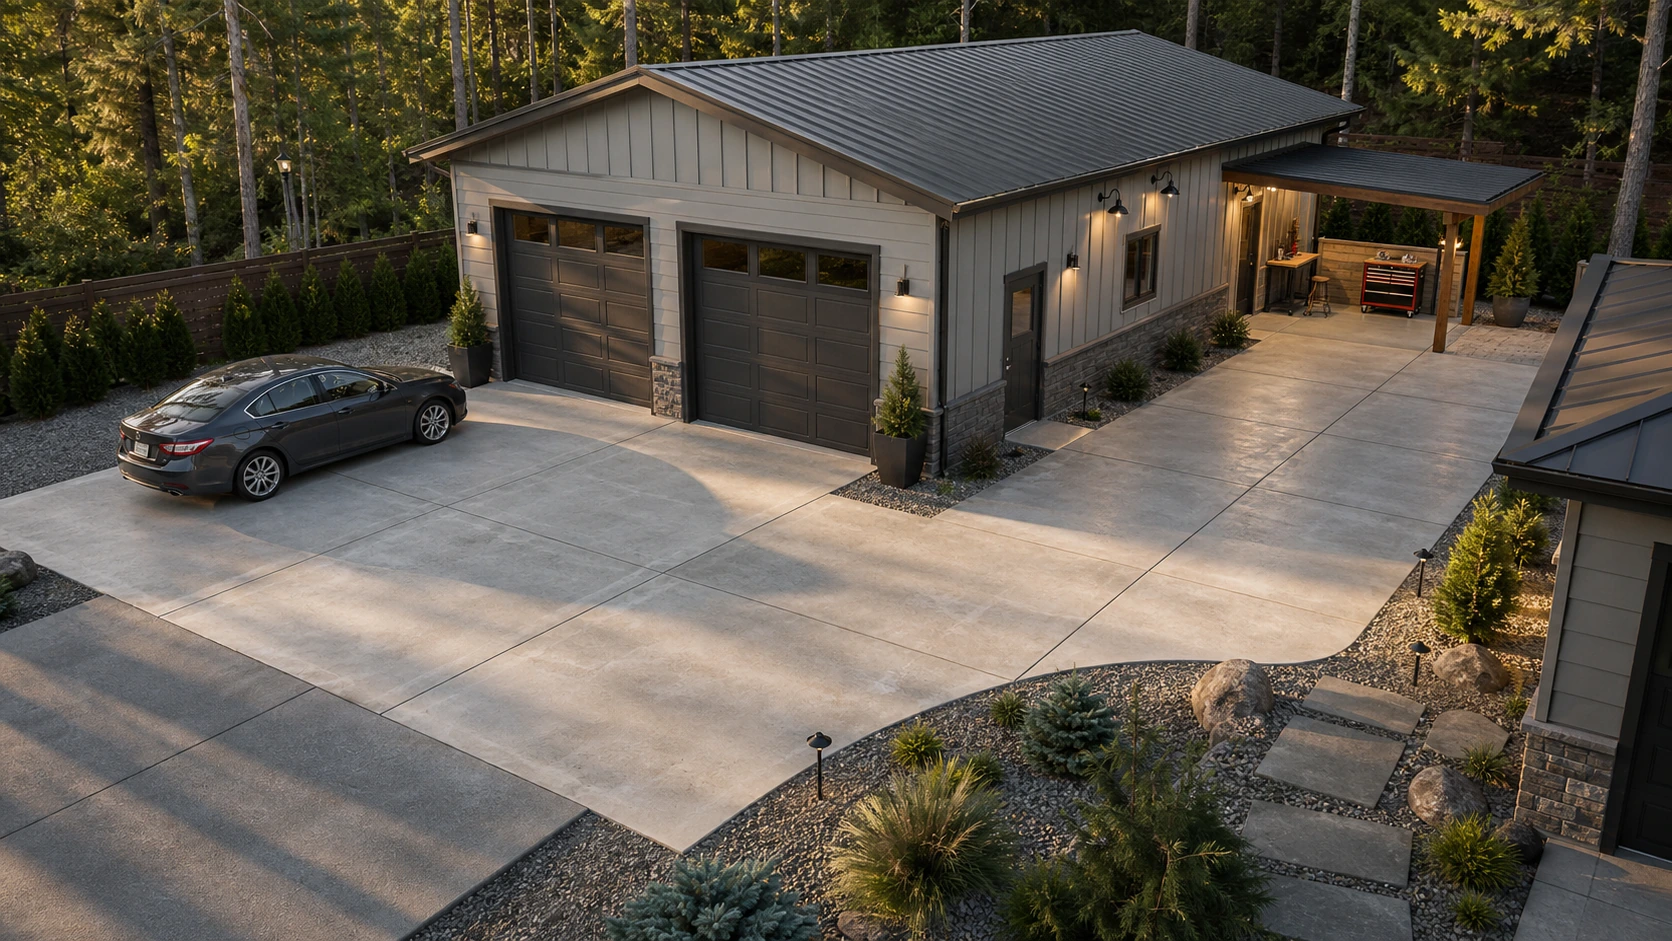
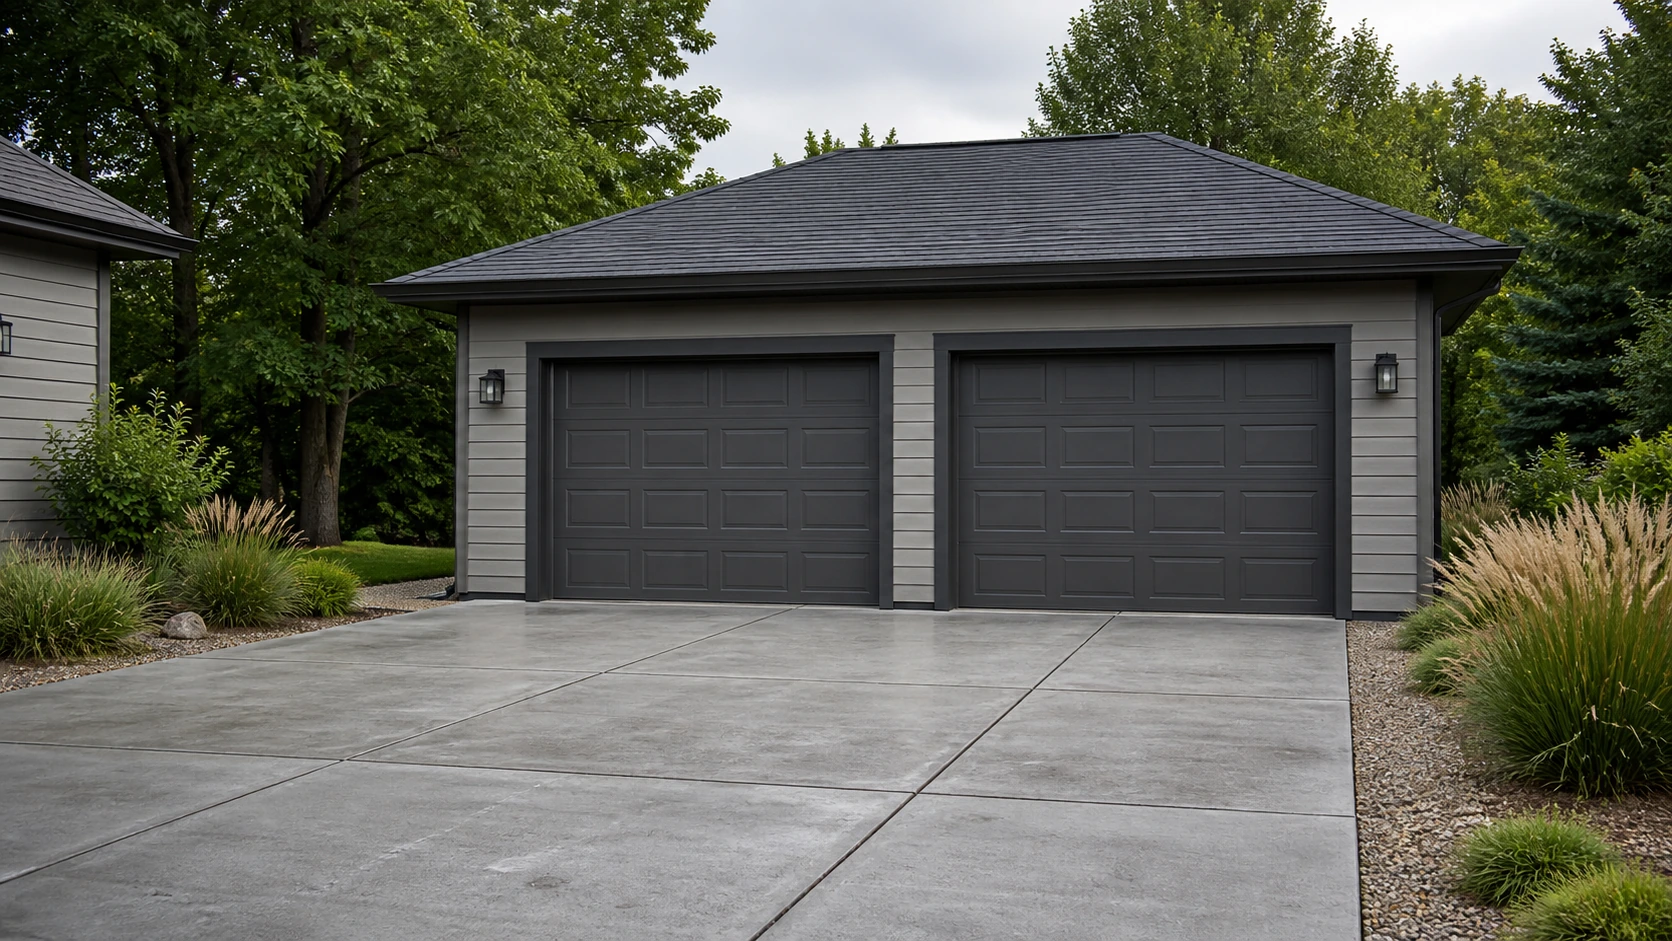
Control joints have to be there to steer where the slab cracks, so you may as well make them look intentional. Evenly spaced, darker joints give the apron a calm rhythm that reads as design rather than maintenance, and they keep the eye from hunting for the random cracks an unjointed slab would eventually show.
- The tradeoff
- The layout sets a clear direction, but it also commits the project to fixed relationships. Decide joint spacing from the slab thickness and climate first, then tune the look within that grid.
- How to measure it
- Conceptual range: one apron rectangle, with joint spacing planned to the slab thickness rather than to a look alone.
On your property
Plan it for your site
Keep the concrete field a quiet, even tone so the joint lines carry the pattern. Sawing the joints early and to the right depth is what makes them both effective and sharp; a shallow or late cut invites the crack to wander off the line.
- Space the control joints for the slab thickness, roughly a spacing in feet of a couple of times the slab thickness in inches, not just for symmetry.
- Cut joints early enough that the slab cracks along them rather than beside them.
- Keep the joint pattern squared to the doors and driveway so the rhythm looks resolved.
Before forms are set
Build implications
- Confirm before estimating Joint spacing and cut depth against slab-on-grade guidance for your thickness.
- Confirm before estimating Timing of the saw cut relative to placement.
- Confirm before estimating Squareness of the grid to the garage and driveway.
- Measure the site and establish elevations Record boundaries, thresholds, grade changes, utilities, and the dimensions of vehicles, furniture, equipment, or structures that affect the layout.
- Test how the space will be used Check walking routes, turning paths, door swings, working clearances, maintenance access, and the route back to the house or street.
- Resolve drainage, services, and structural support Decide where water goes and coordinate drains, conduit, irrigation, fuel, electrical work, footings, and independent supports before forms are set.
- Define and estimate each concrete element Confirm the slab or footing section, base, joints, edges, and finish, then estimate simple measurable fields separately from steps, walls, drains, and supported features.
Prevent these problems
- Designing for a car instead of the heaviest loadTrailers, trucks, lifts, jacks, and equipment may require a different slab section, reinforcement, or edge detail.
- Forgetting working utilitiesEV conduit, drains, wash-down routes, compressed air, and power should be coordinated before the pad is placed.
- Using decorative panel sizesLarge or elongated panels may crack unpredictably when the joint layout is driven by appearance instead of slab behavior.
Next step
Turn the idea into your estimate
Enter measurements from the property. The conceptual image does not provide a takeoff.
Estimate a similar garage padQuestions this idea raises
How far apart should control joints be?
A common starting point is a spacing in feet of about two to three times the slab thickness in inches, adjusted for the mix and climate. Treat any rule of thumb as a starting point and confirm it for your slab.
Can control joints be a design feature?
Yes. Because the joints are structurally necessary anyway, spacing and finishing them cleanly lets them double as a deliberate pattern instead of looking like afterthought cuts.
- Best when
- Garage aprons
- Reconsider when
- Reconsider the idea if actual vehicle or equipment loads, drainage, edge support, and joint layout cannot be resolved on the property.
- Verify first
- Decide joint spacing from the slab thickness and climate first, then tune the look within that grid.
- Professional input
- Concrete contractor; engineer for lifts, heavy equipment, or unusual loading
Sources and further reading
- American Concrete InstituteTechnical context for slab-on-grade thickness, reinforcement, and jointing under vehicle loads.
- NRMCA CIP 6: Joints in Concrete Slabs on GradeA practical starting point for control-joint layout on aprons and parking pads.
- ICC model code portalModel-code context for garage slabs and the local amendments your building department adopts.