Design decision
Why this idea works
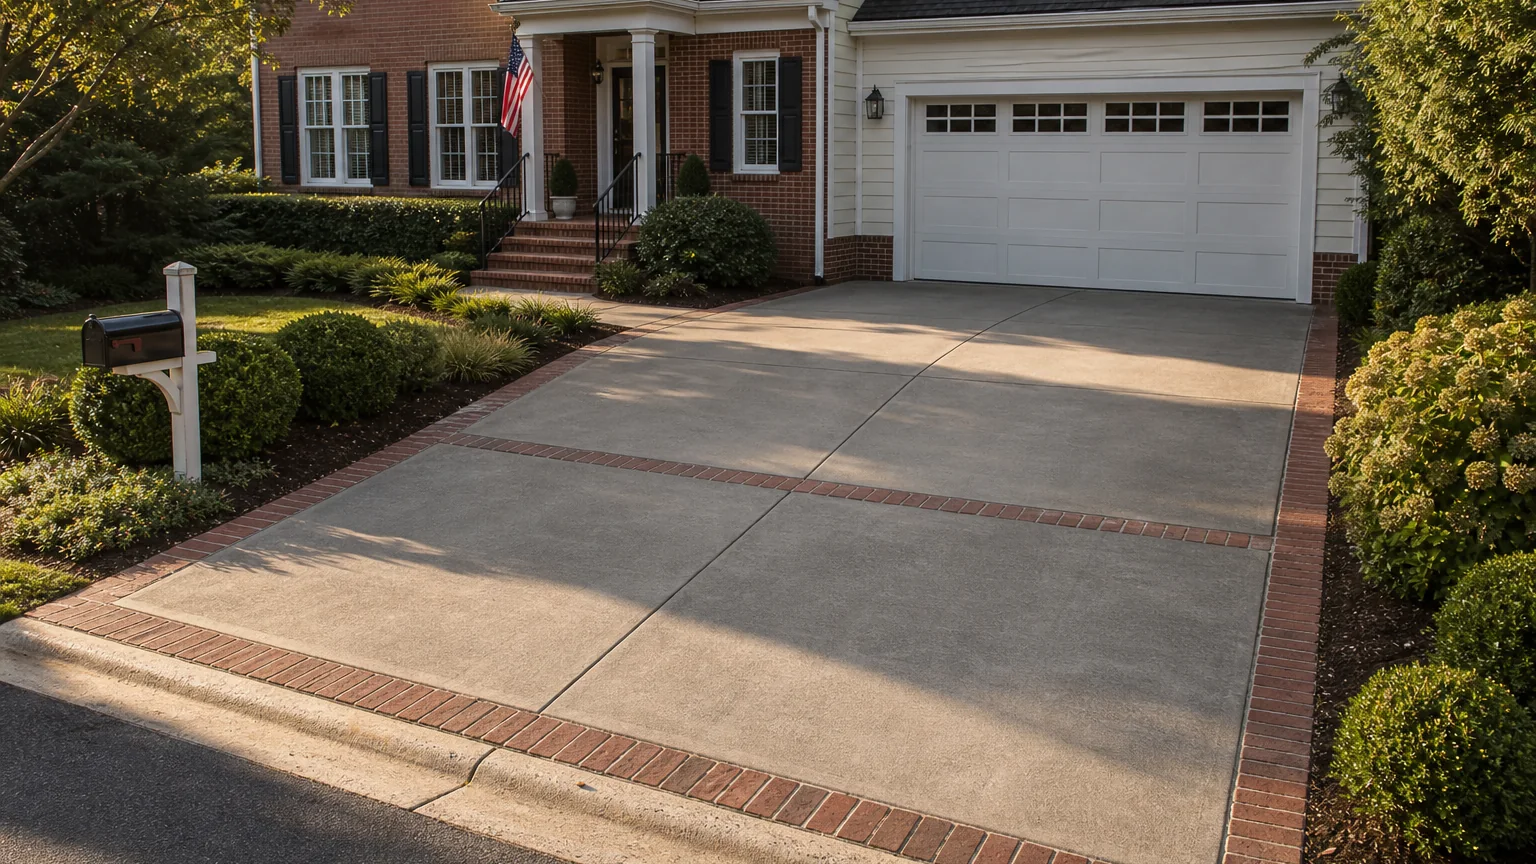
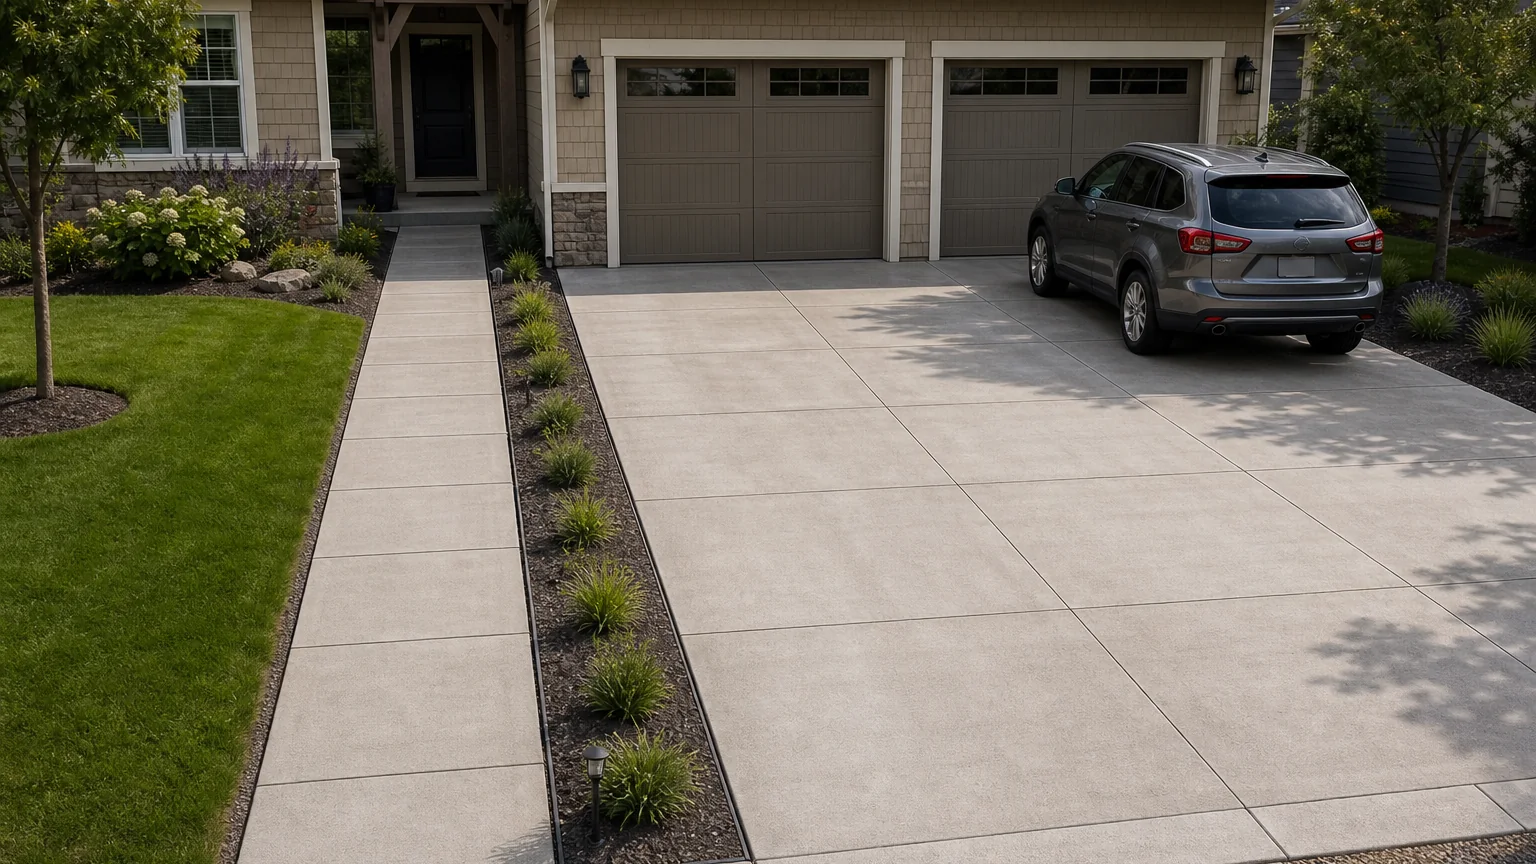
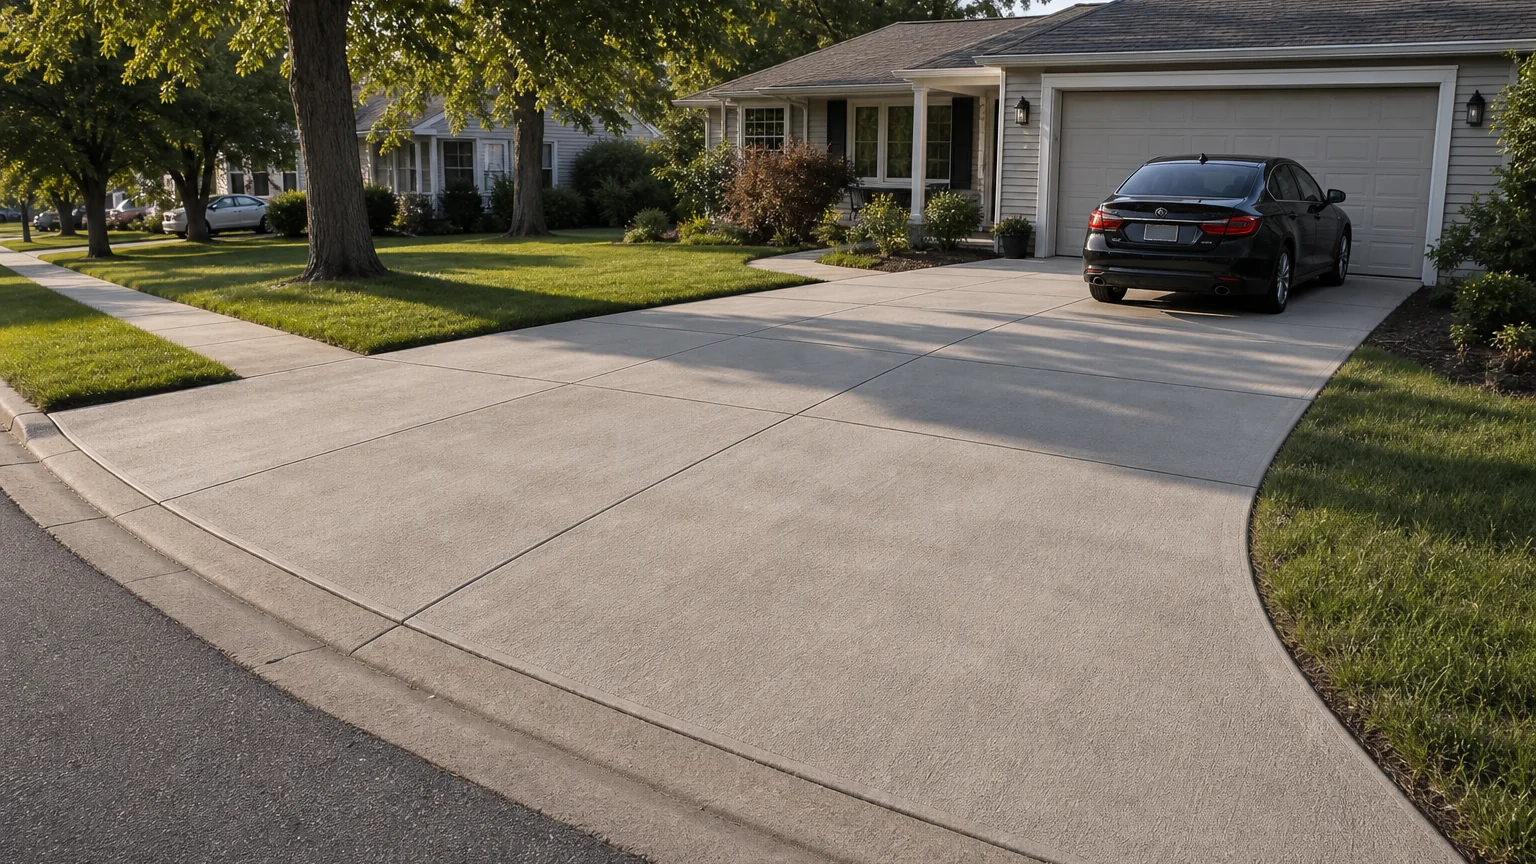
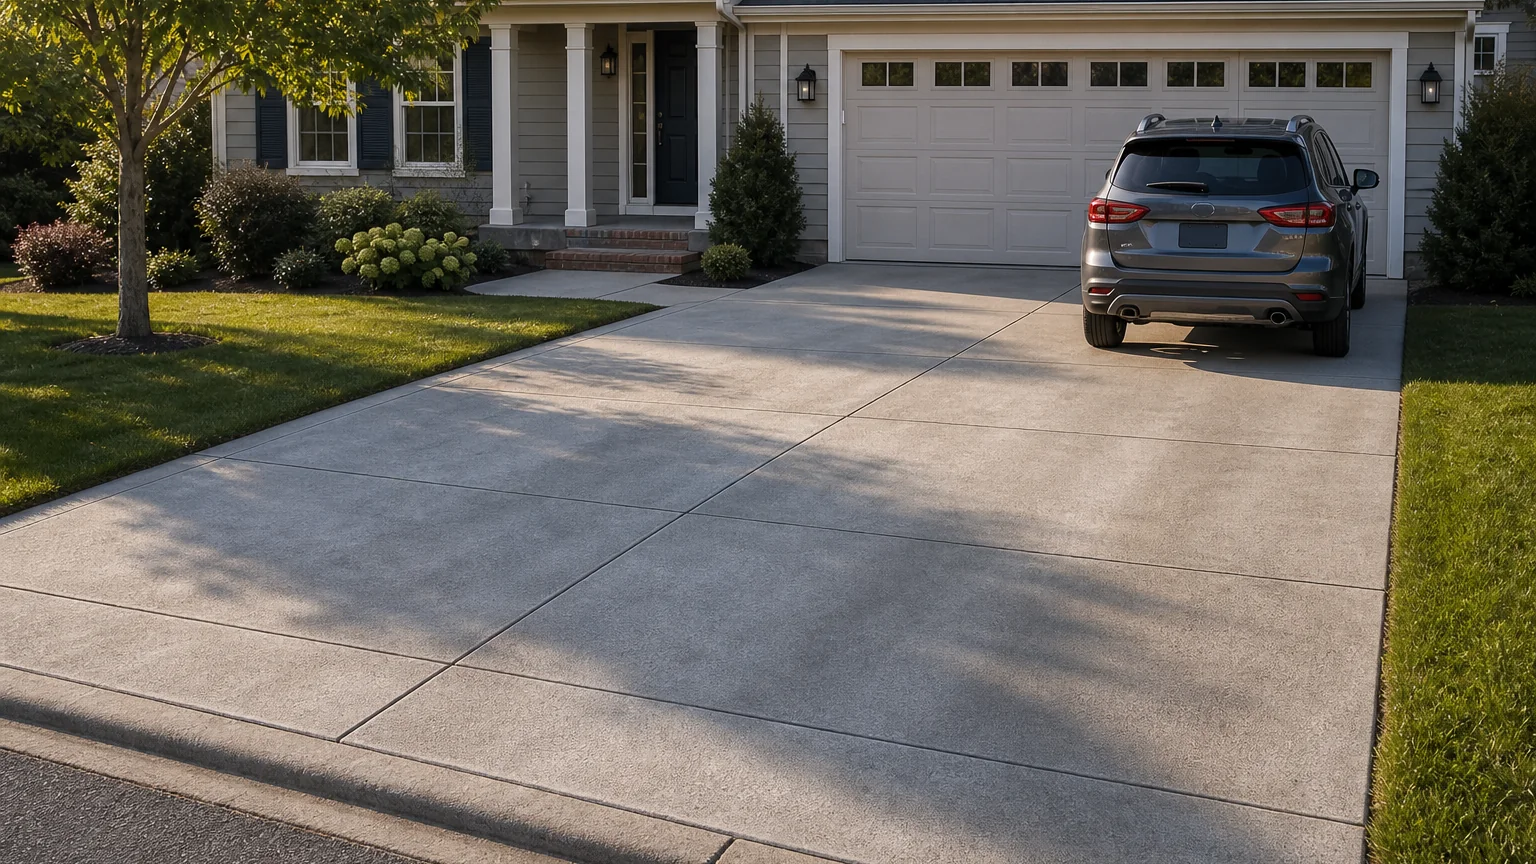
The evenly paneled drive is a classic because it works: the regular joints control cracking, the proportions feel orderly, and the look never dates. For a traditional suburban home it is the reliable, unfussy choice that still reads as cared for.
- The tradeoff
- The classic layout is easy to understand and maintain, but it offers less visual variation than decorative systems.
- How to measure it
- Conceptual range: the driveway rectangle plus the garage apron as a separate piece.
On your property
Plan it for your site
A broom finish gives dependable traction and an even field, while the regular joints carry the order. Keep the panels near square, align them to the garage doors, and place an isolation joint where the drive meets the garage slab.
- Keep panels near square and spaced for the slab thickness so cracking follows the joints.
- Align the grid to the garage doors so the layout looks resolved.
- Place an isolation joint at the garage face and slope the drive away from it.
Before forms are set
Build implications
- Confirm before estimating Panel spacing and proportions against slab-on-grade guidance.
- Confirm before estimating A grid aligned to the garage doors.
- Confirm before estimating An isolation joint and slope away from the garage.
- Measure the site and establish elevations Record boundaries, thresholds, grade changes, utilities, and the dimensions of vehicles, furniture, equipment, or structures that affect the layout.
- Test how the space will be used Check walking routes, turning paths, door swings, working clearances, maintenance access, and the route back to the house or street.
- Resolve drainage, services, and structural support Decide where water goes and coordinate drains, conduit, irrigation, fuel, electrical work, footings, and independent supports before forms are set.
- Define and estimate each concrete element Confirm the slab or footing section, base, joints, edges, and finish, then estimate simple measurable fields separately from steps, walls, drains, and supported features.
Prevent these problems
- A garage connection without isolationTying the driveway to the garage slab can transfer movement and create cracks at the threshold.
What changes the work and quote
- Base repair and joint executionKeep it simpler: Keep a standard broom finish and regular transverse joints.
Next step
Turn the idea into your estimate
Enter the dimensions and section for your property. The image does not provide a takeoff.
Estimate your drivewayQuestions this idea raises
How big should the panels be?
A common start is a spacing in feet of about two to three times the slab thickness in inches, kept near square and to roughly 15 feet at most. Confirm it against your slab section.
Why does the paneled look endure?
Regular squared panels control cracking, read as orderly, and suit traditional homes without dating, which is why they remain the default. The joints are doing structural and visual work together.
- Best when
- A traditional home needs a reliable two-car approach with a regular grid tied to the garage doors.
- Reconsider when
- Curves, offsets, or fixed objects prevent near-square panels and clean isolation at the garage.
- Verify first
- Set the slab section, garage isolation, drainage, and panel grid before forms are placed.
- Professional input
- A concrete contractor should confirm the slab, base, joints, and drainage. Ask an engineer or the local authority to review retaining work, structures, unusual loads, or public-right-of-way changes.
Sources and further reading
- NRMCA CIP 6: Joints in Concrete Slabs on GradeJoint spacing, panel shape, isolation, and saw-cut depth for slabs on grade.
- FHWA: Bases and Subbases for Concrete PavementsProfessional guidance on uniform support, subgrade risks, drainage, and stable base layers.